
SQL Alerts
👤 This documentation is intended for SQL Users.
SQL Alerts notify the user whenever the result of a query is higher, lower, or equal to a predefined value. They're especially good for making sure nothing catastrophic has happened to the data pipeline.
<div><UL>
<LI><a href="#CreateAlert">Creating an Alert</a></LI>
<LI><a href="#CancelQuery">Canceling a Query</a></LI>
<LI><a href="#AlertFrequency">Frequency of Alerts</a></LI>
<LI><a href="#IgnoreErrors">Ignoring Query Errors</a></LI>
<LI><a href="#AlertDatabase">Where Alerts Are Executed</a></LI>
<LI><a href="#DisableAlerts">Disabling Alerts</a></LI>
<LI><a href="#SendtoMultiple">Sending Alerts to Multiple Users</a></LI>
<LI><a href="#AlertLimits">SQL Alert Limits</a></LI>
<LI><a href="#TaggingAlerts">Tagging Alerts</a></LI>
<LI><a href="#Descriptions">Alert Descriptions</a></LI>
<LI><a href="#QualityCheck">Quality Check Alerts</a></LI>
<LI><a href="#DeleteAlert">Delete an Alert</a></LI>
</UL></div>
<HR>
<a name="CreateAlert"></a>
Creating an Alert
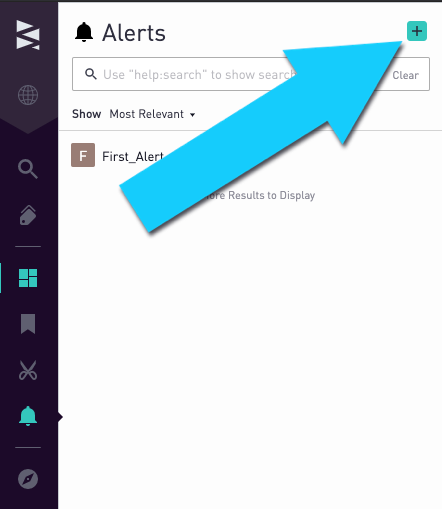
To add a new SQL Alert, first click the SQL Alerts menu in the left hand navigation bar. Then, click the green plus button to define the alert.
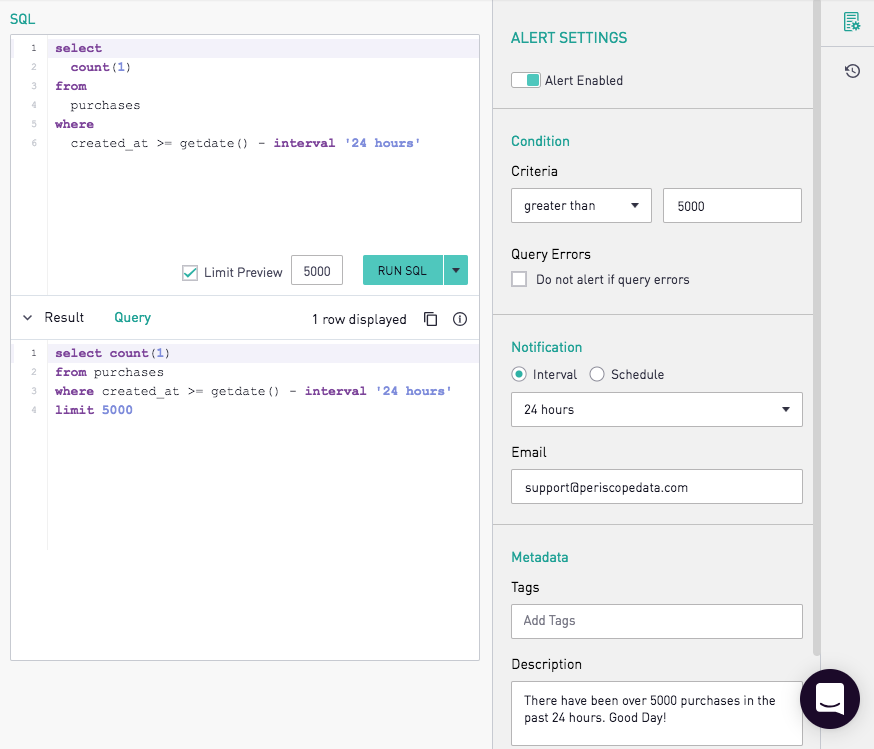
In the SQL editor, define the query to be run. The alert's SQL must return a single value. Then, in the Condition section, enter a threshold on which to be alerted.
This alert will trigger an email if there are more than 5000 purchases in the last day:
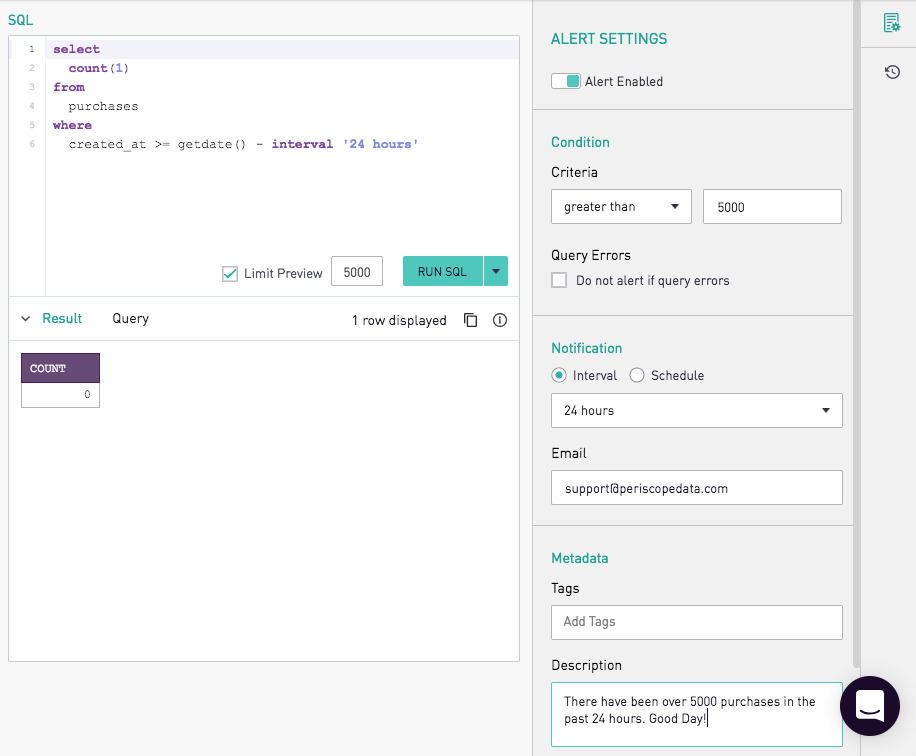
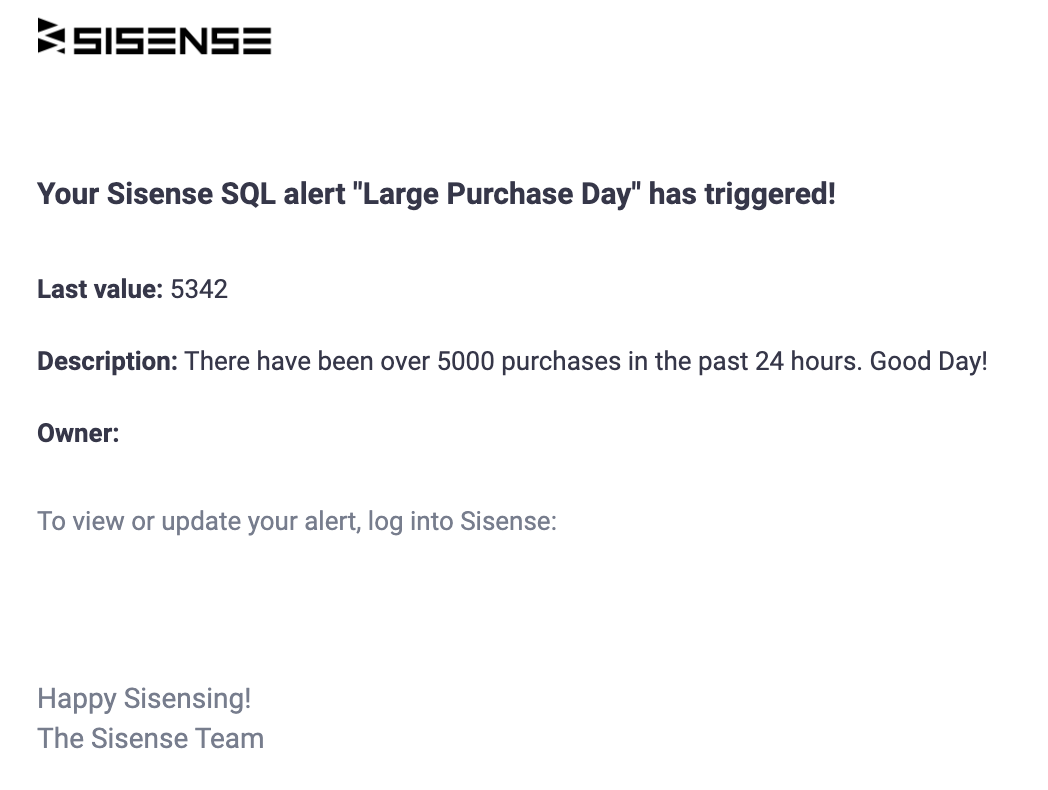
Emails for alerts include the name of the alert, the value which triggered the email, the description of the alert, and the alert owner.
<a name="CancelQuery"></a>
<a href="#top">Back to top</a>
Canceling a Query
To cancel a query running on a redshift database, in the sql alert editor, click the down arrow next to the "Run SQL" button at the top right of the screen and choose the "Cancel Query..." option:

Note: This option is only for queries run on a redshift database.
<a href="#top">Back to top</a>
<a name="AlertFrequency"></a>
Frequency of Alerts
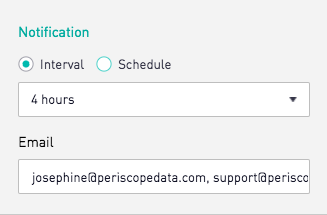
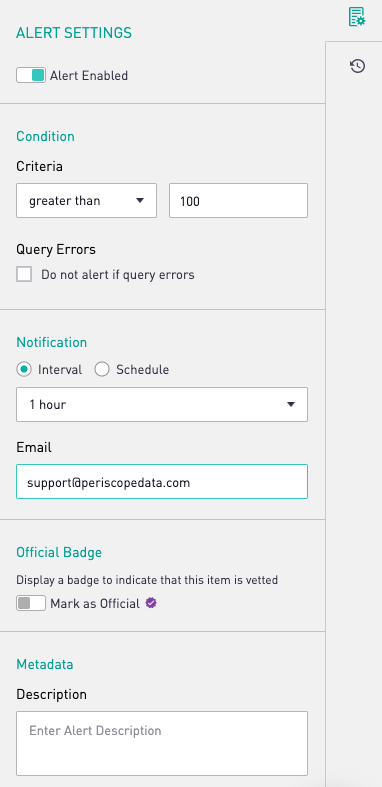
SQL Alerts can be configured to run either on an interval or at a scheduled time.
To run a SQL Alert on an interval, select the Interval option and choose from every 10 minutes, 30 minutes, 1 hours, 4 hours, 12 hours, or 24 hours.

By selecting the Schedule option, alerts can be set to run at a specific time in UTC.

<a href="#top">Back to top</a>
<a name="IgnoreErrors"></a>
Ignoring Query Errors
Normally, SQL Alerts will trigger an email either if the set condition is met, or if the specified query returns an error. Common issues include syntax errors, database connection errors, queries timing out, or a table not existing during an ETL process. You can set the alert to not trigger error emails by checking the box next to 'Do not alert if query errors'.
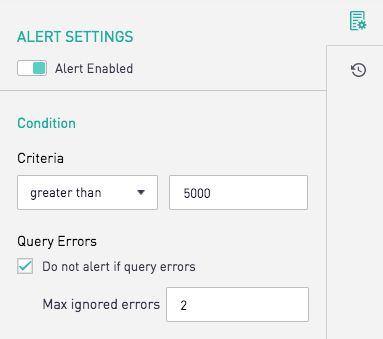
The max ignored errors is the number of consecutive errored runs that will be ignored and not trigger an email. Here, two alert errors will be ignored, but the third will trigger an email that the alert SQL has errored out.
This setting does not automatically re-run the SQL Alert if it fails initially. Instead, the alert will wait to run the query again at the next scheduled time.
<a href="#top">Back to top</a>
<a name="AlertDatabase"></a>
Where Alerts Are Executed
Sisense for Cloud Data Teams executes alert queries directly on the database selected in the dropdown. For customers with Warehouse, Explicit Cache, or Usage Data, the option to run the Alert directly on the cache is available if the Sisense Cloud Cache or Warehouse is selected in the dropdown.
<a href="#top">Back to top</a>
<a name="DisableAlerts"></a>
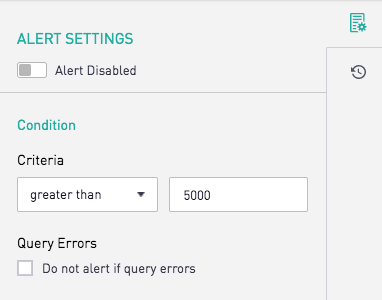
Disabling Alerts
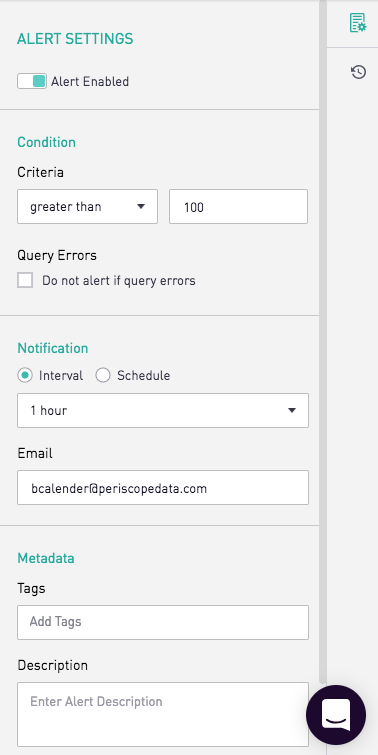
SQL Alerts can be disabled by turning off the "Alert Enabled" switch under the Settings.
<a href="#top">Back to top</a>
<a name="SendtoMultiple"></a>
Sending Alerts to Multiple Users
SQL Alerts can be sent to more than one user. The email addresses must be written as comma-separated-values in the Email section.
<a href="#top">Back to top</a>
<a name="AlertLimits"></a>
SQL Alert Limits
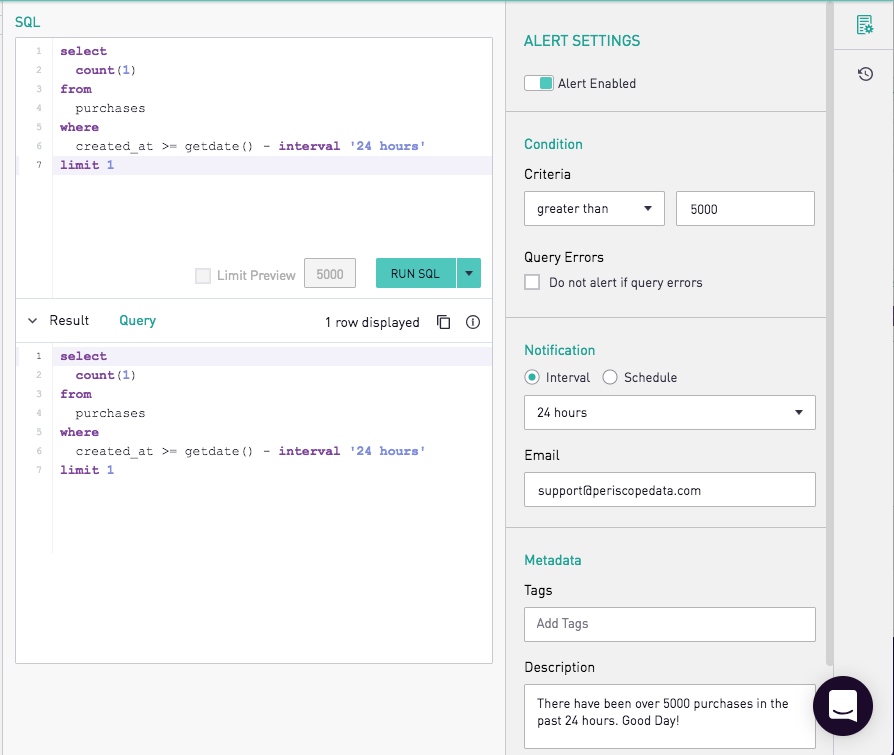
The number of rows returned by a SQL alerts's query is limited to 5000 by default. This can be adjusted by either entering a new number into the Limit Rows text box, or by writing a LIMIT or TOP clause into the query. Limits that are defined in the query or in the UI will be used when the SQL Alert query is run.
In the SQL Alert editor a query can return multiple columns and rows of data, but for an alert to successfully run the query must only return one value. If a LIMIT or TOP clause is defined in the query, the row limit defined in the UI will not be applied to the query.
<a href="#top">Back to top</a>
<a name="TaggingAlerts"></a>
Tagging Alerts
To add or create a tag on the Alert, click into the Tags textbox.
Enter the new tag name and click out of the textbox. The newly created tag will be added to the tags for the Alert and the tag list available for other Alerts.
<a href="#top">Back to top</a>
<a name="Descriptions"></a>
Alert Descriptions
To add a description on the Alert, click into the Description textbox
Enter the description and click out of the textbox. The description will be included in the Emails notifications for alerts.
<a href="#top">Back to top</a>
<a name="QualityCheck"></a>
Quality Check Alerts
SQL Alerts can be tied to Scheduled Dashboard Emails to perform a quality check on the data to be emailed out. For instructions on how to setup quality checks on dashboards, refer to our Scheduled Email Report Documentation here.
<a href="#top">Back to top</a>
<a name="DeleteAlert"></a>
Delete an Alert
If an alert is no longer needed, it can be deleted using the "Delete" button in the upper right corner.
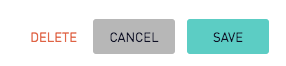
After confirming, this alert will be deleted permanently.
<a href="#top">Back to top</a>